
How to prepare your custom stickers
Hello and welcome, dear Printifriend!
We’ve created this guide to help your stickers future stunners look their very best and ensure the production process runs smoothly. You’ll find everything you need to know to prepare your files perfectly.
You’ll need to create one to four separate files, depending on your chosen material and finishes. Several file types are accepted (.pdf, .jpeg, .png, etc.), and each file must be created at the exact dimensions of the desired final product, with sufficient resolution for printing (minimum 300 DPI).
Lower resolutions may produce blurry or pixelated results, which people don’t normally like, strangely enough.
You can also create one single .psd file with multiple layers depending on your needs.
TL;DR
If you can’t be bothered to read the entire guide (we won’t judge), here is a quick recap of the files to send us:
- Your main artwork (colour)
- A cut file (for all custom shapes)
- A file for the white layer (for holographic, chrome, transparent and suncatcher materials)
- One file per special finish (spot gloss, micro-texture)
Click the button below to see all the holographic effects and micro-textures we offer. The holographic materials that say “Sticker friendly” are compatible with stickers.
If you want to make sure your files are perfect, keep on reading!
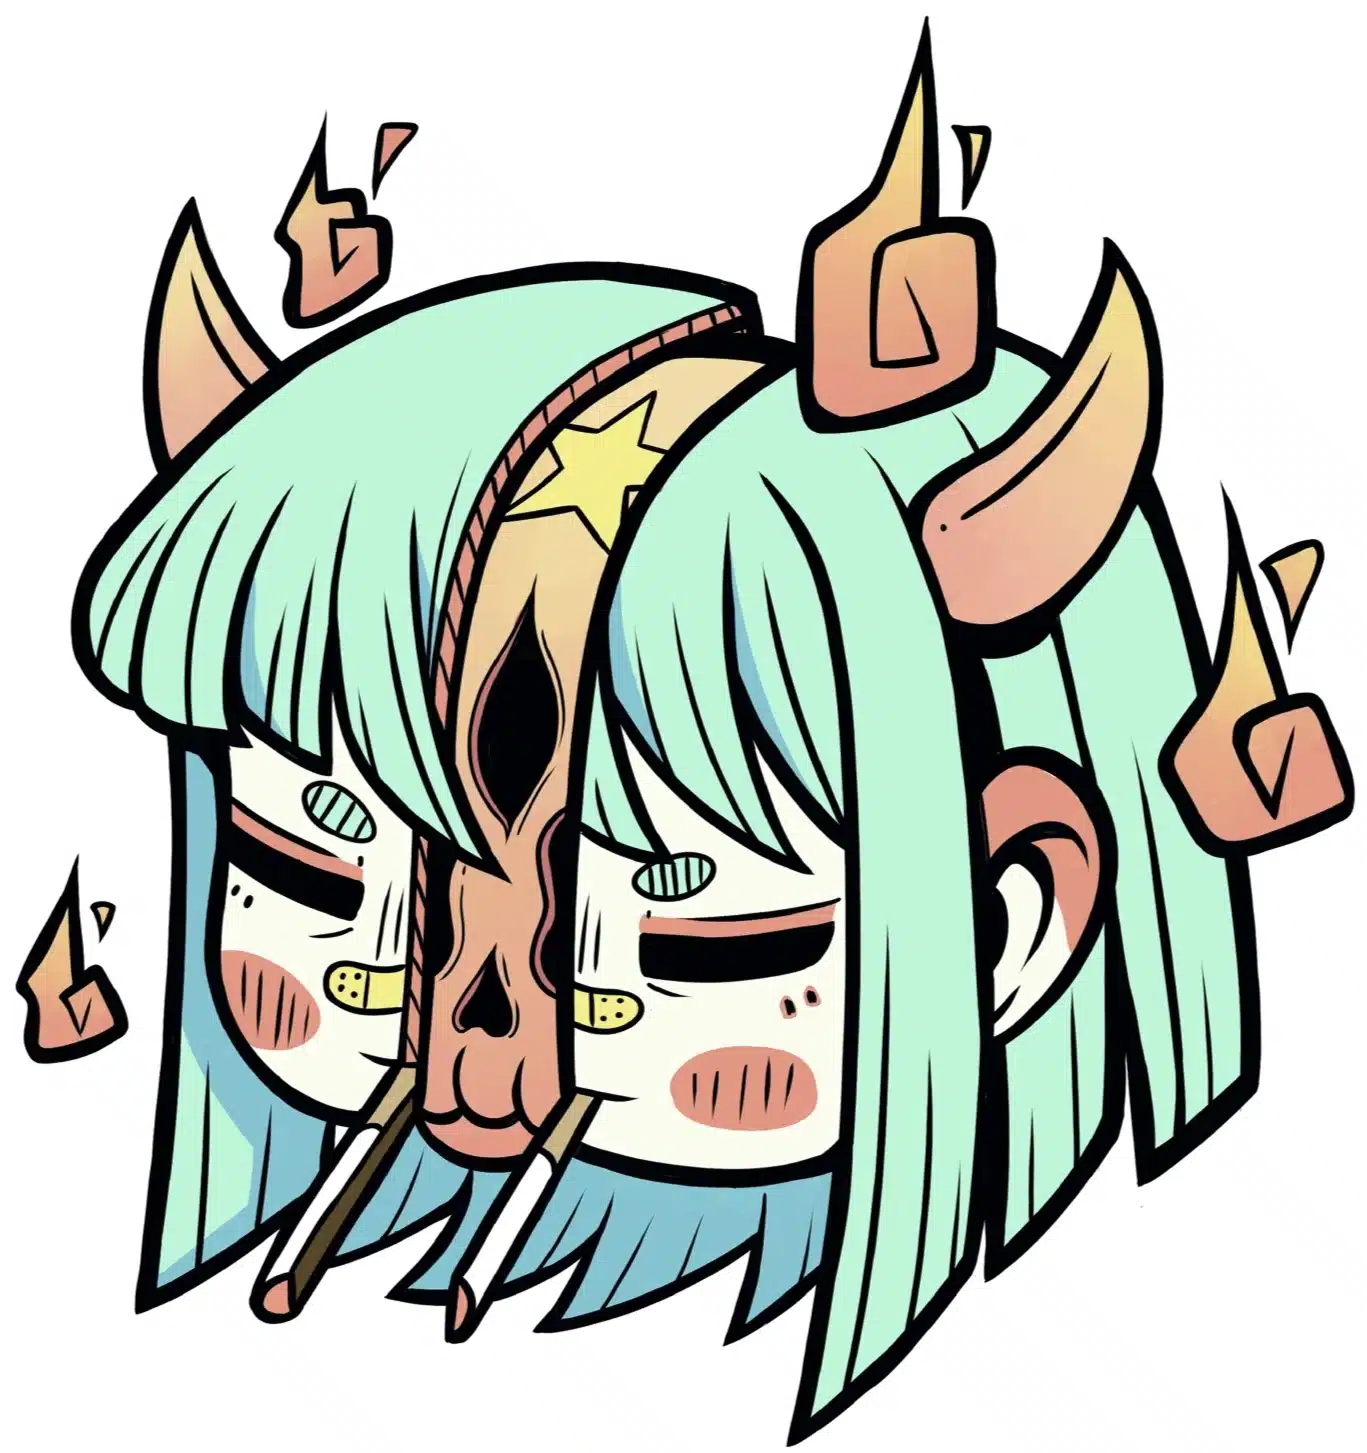
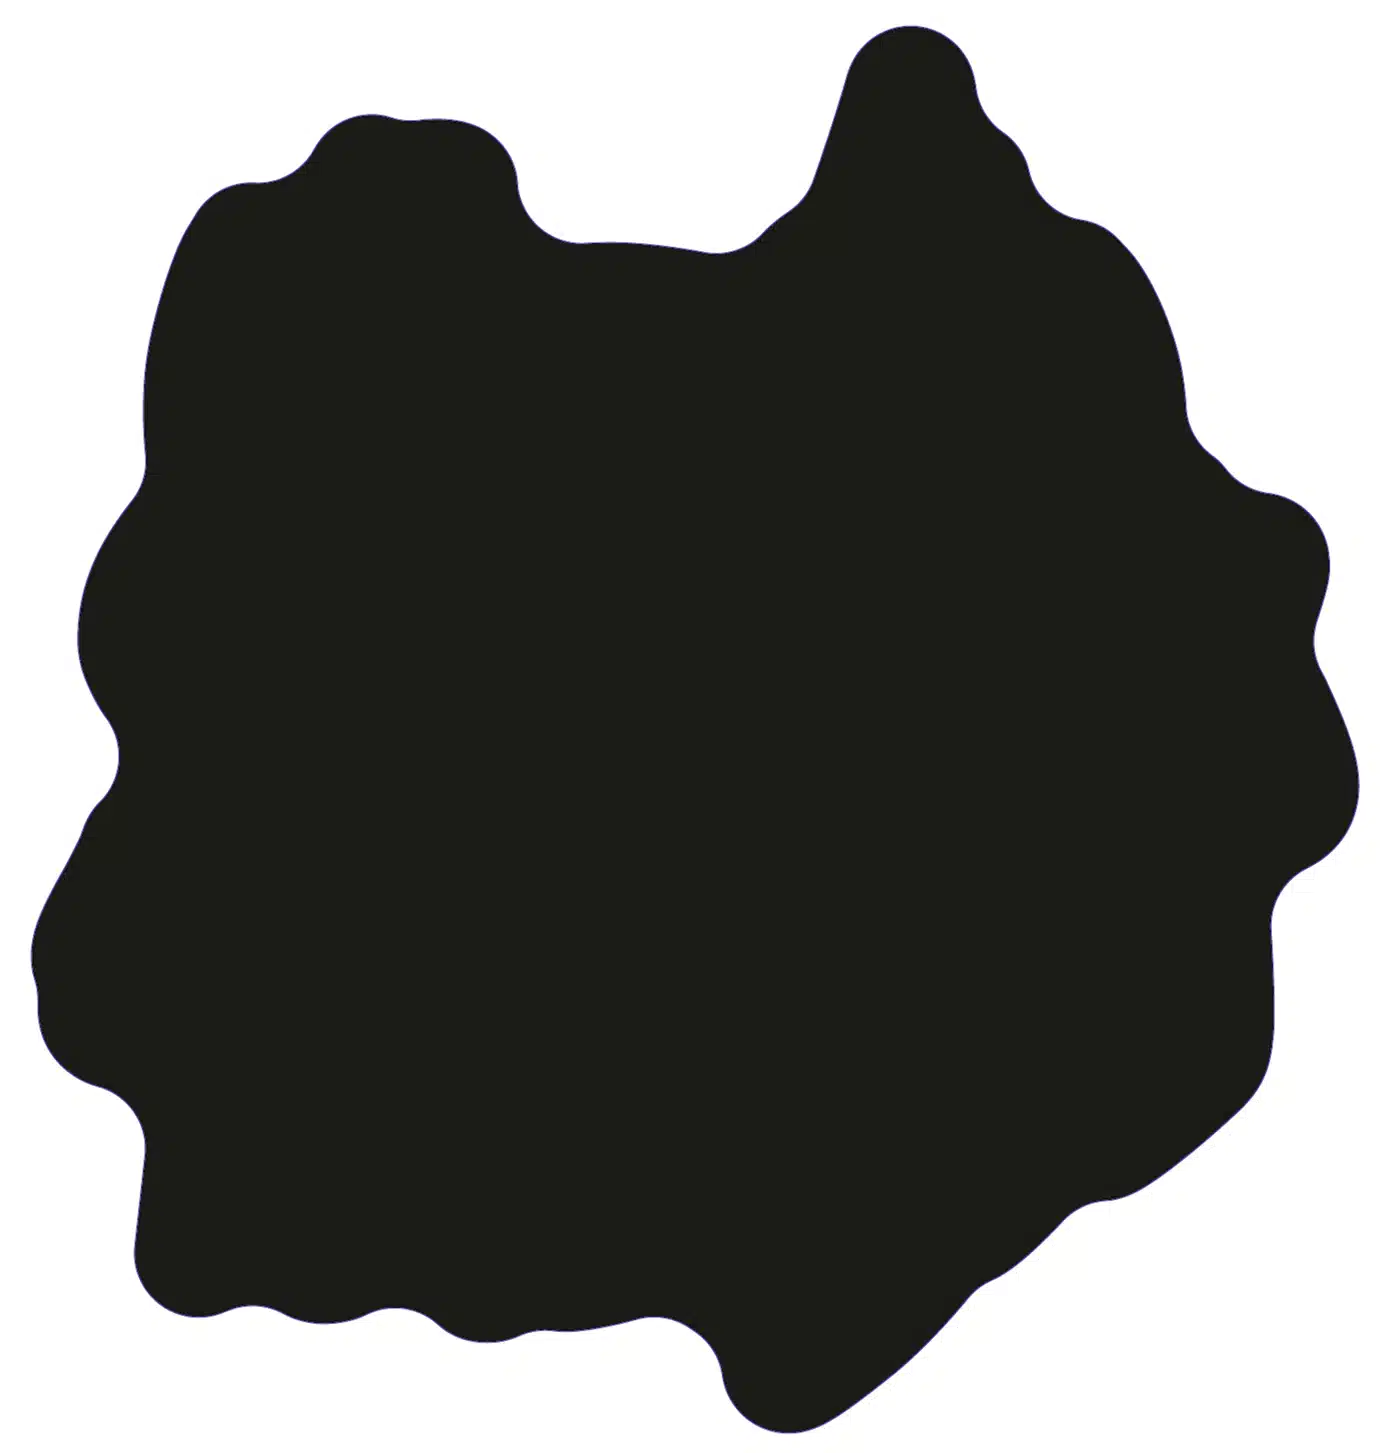
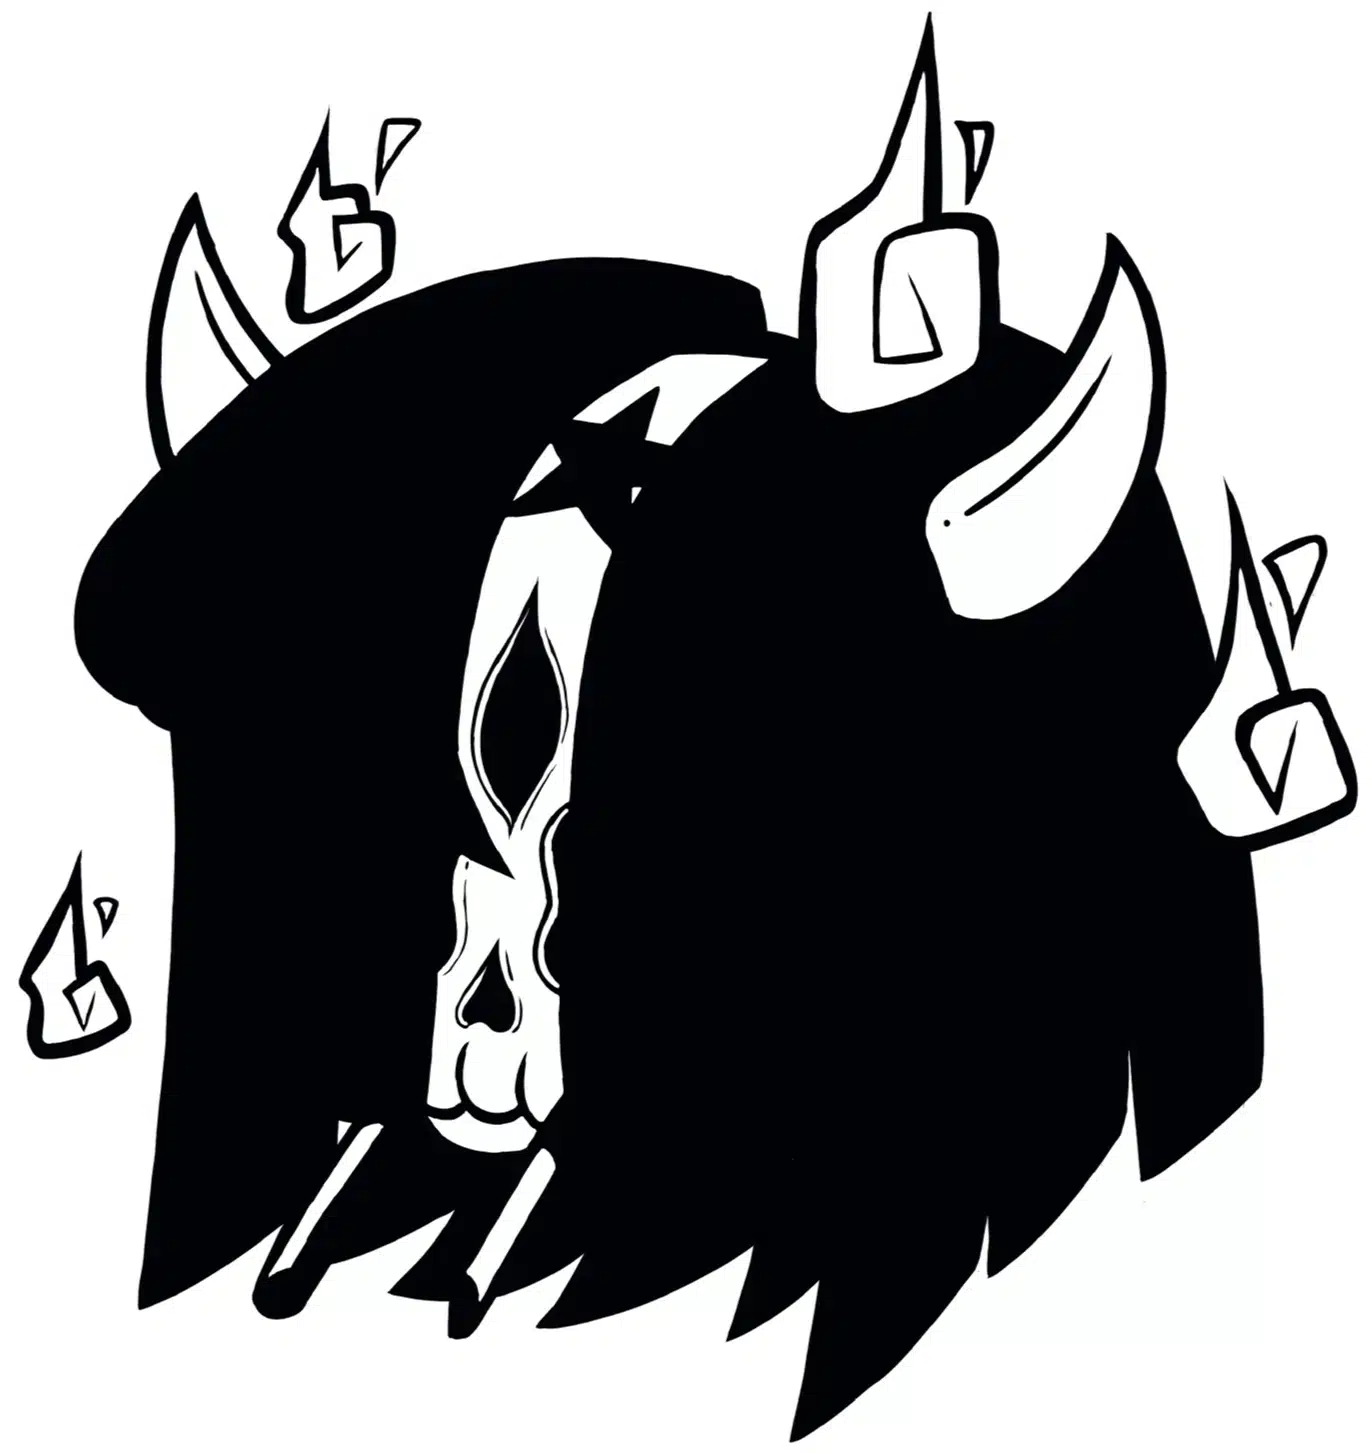


Art by @chip.illus
File no. 1 – Design (mandatory)
This is the main file for your sticker design, the colour (the one we’re going to make look amazing). Let your imagination run wild with this one. You’re the artist, after all!
💡 Give your file a simple name, e.g. sticker_artwork.png.
Important
This first file dictates the colour print only (CMYK).
White areas in this file indicate an absence of ink. If you need to print actual white ink, we explain how to do this further down, with file no. 3.

Individual sticker
Art by @chip.illus

Sticker sheet
Art by @avril_circus
File no. 2 – Shape (optional)
This file will tell us where you want us to cut each of your stickers (or, in the case of a sticker sheet, where the kiss cut should be).
Rectangle or circle
If you choose one of these shapes, there’s no need to create a special file – the name says it all!
Contour cut
If you’d like your stickers to be a specific shape, we’ll need to receive this information from you (i.e. a cut file).
This file should be a simple black shape with broad edges that covers the entire area of the sticker. For a clean cut, avoid outlines that are too detailed or angular.
The cut-out area must be at least 1.5 mm larger than the sticker artwork.
This area acts as a buffer zone to stop part of your design from being cut off (let’s avoid that).
If you’re ordering a sheet, each sticker must have its own cut line in this file.
The edges of the sticker will be the same colour as your chosen material: white, transparent, holographic, etc.
💡 Give your file a simple name, e.g. sticker_shape.png.
Reminder of cut types
- Contour cut: individual stickers are given a custom cut that follows the exact outline of the design.
- Kiss cut: the stickers on a sticker sheet are cut out individually, but the backing is left intact, keeping them attached to the sheet. Make sure there is enough space between the stickers on the sheet for them to be cut out (about 2-3 mm between each sticker).

Shape file for a contour-cut sticker
Art by @chip.illus

Shape file for a kiss-cut sticker sheet
Art by @avril_circus
File no. 3 – White layer (optional)
At Printisticks, you can choose from a whole world of different materials. However, some of these require an extra layer of ink to look their very best.
Our inks are slightly translucent, allowing the material to show through in specific areas of the artwork. Transparent and holographic materials are printed with a base coat of white ink under the colour.
Its purpose is to stop the material from showing through in specific areas, which blocks the holographic effect and adds dimension to your design. On areas where you want the effect of the material to show, we’ll print your design directly onto the material, without a white layer underneath.
So we know where to apply the white layer, you must prepare a file in black and white:
- the black parts are where you want to block the holographic effect (i.e. where we’ll print a white base coat);
- the white parts of the file show where the holographic effect should be visible under the colour.
💡 Give your file a simple name, e.g. sticker_white_layer.png.
Remember
- Any parts of your design without a white layer will let the material’s holographic or transparent effect show through. These parts of your design (the colour) will be printed directly onto the holographic material.
- On this file, black indicates the application of ink (in this case, white ink).
- You can find our gallery of holographic effects here: https://media.printiverse.fr/effects-gallery/
Since your artwork is printed directly onto our adhesive material, only one can be selected per design.

White layer instructions (black areas) for an individual sticker
Art by @chip.illus

White layer instructions (black areas) for a sticker sheet
Art by @avril_circus
File no. 4 – Special finishes (optional)
At Printisticks, we offer a range of different finishes for your stickers, whether they’re holographic or not. Our special effects include spot gloss and a whole host of micro-textures.
So if that’s what you want… you’ll need to create another file. But we promise this is the last one!
This file must be in black and white, just like the white layer file. The black areas will show us exactly where you want us to put the spot gloss or micro-texture of your choice. Leave the parts that don’t require a special finish in white.
Essentially, in files no. 3 and 4, one black pixel = one drop of special ink (white layer, spot gloss or micro-texture).
If you select a micro-texture for your Printisticks order, please specify which one using the comments field. All our micro-textures can be viewed in our effects gallery.
💡 Give your file a simple name, e.g. sticker_textureD6.png (with the micro-texture code) or sticker_gloss.png.

Instructions for adding spot gloss (black parts) to an individual sticker
Art by @chip.illus
The sky is the limit!
You can even combine several different finishes on a single sticker, e.g. spot gloss on some areas and a micro-texture on others. If that’s what you want, you’ll need to create one file in black and white for each type of finish. Just follow the instructions above and name the files so we know which is which.
You can even create your own custom texture! To do this, you’ll need to draw your texture design in black against a white background in your texture file.
You can also choose our glossy or matte laminated finishes, but you don’t need to prepare anything for these options.
Before sending
Check that the names of your files are clear to prevent any mix-ups.
If you want to order multiple designs, you must add each sticker to your cart separately and upload the specific files required for each of them.
If you have any questions or you’d like more information, contact us at hello@printisticks.fr.
We’re here to help! 🤗
Thank you for choosing Printisticks. We can’t wait to see what you come up with! ✨

Let us be your guide to
the world of stickers